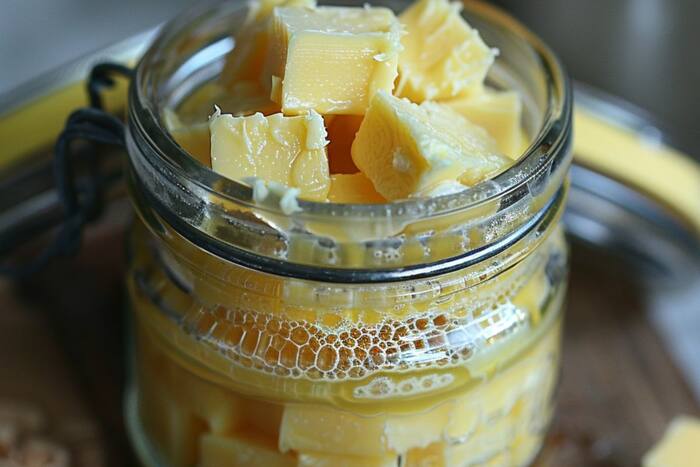
Transform Butter Into Golden Ghee With This Simple Recipe

To make ghee, melt butter and simmer it until the water evaporates and milk solids settle at the bottom. Once the solids turn brown and the butter becomes fragrant, strain the liquid to remove the solids. Cool the ghee and store it in a clean container. It’s perfect for high-heat cooking and has many health benefits.

Published: October 16, 2024 8:00 AM IST

By Harpreet Kour | Edited by Harpreet Kour

FEATURE IMAGE
FEATURE IMAGE

Making ghee at home involves melting unsalted butter and simmering it until the water evaporates and milk solids separate. The butter goes through stages: foaming, clearing, and browning solids. Skim off the foam and continue cooking until the milk solids turn golden brown and the ghee develops a nutty aroma. Strain the ghee to remove solids, leaving a pure golden liquid. Cool it down before storing in a clean jar. Ghee can be stored at room temperature and is ideal for cooking due to its high smoke point.

Ingredients:

  • Unsalted butter: 500 grams or more, depending on how much ghee you want to make.

Equipment:

  • Heavy-bottomed saucepan or pan
  • Fine mesh strainer or cheesecloth
  • Glass jar or airtight container for storage

Step By Step Recipe:

Step 1: Melt the Butter

  • Place the unsalted butter in a heavy-bottomed saucepan.
  • Turn the heat to low or medium-low and let the butter slowly melt.
  • Stir occasionally to ensure the butter melts evenly and doesn’t burn.

Step 2: Simmer and Separate the Butter

  • Once the butter has fully melted, it will begin to foam and sizzle as water content evaporates.
  • Continue simmering the butter on low heat. As it simmers, it will separate into three layers:
  • Foam on top: This is the water evaporating.
  • Clear, golden liquid in the middle: This is the clarified butter or ghee.
  • Milk solids at the bottom: These will start to turn golden brown.

Step 3: Skim the Foam

  • After a few minutes of simmering, skim off the foam that rises to the top using a spoon.
  • Continue cooking until you no longer see foam forming, and the butter becomes clearer with golden hues.

Step 4: Monitor the Color and Aroma

  • Keep an eye on the butter as it cooks, and once the milk solids at the bottom of the pan start to turn light brown and give off a nutty aroma, you’ll know your ghee is nearly ready.
  • This process typically takes about 20–30 minutes, depending on the amount of butter and heat level. Be careful not to let the milk solids burn, as this can give the ghee a bitter taste.

Step 5: Strain the Ghee

  • Once the ghee is golden and aromatic, remove the pan from the heat.
  • Let it cool slightly, then strain the liquid through a fine mesh strainer or cheesecloth into a clean, dry glass jar or container.
  • This will remove the browned milk solids and any remaining foam, leaving only pure, golden ghee.

Step 6: Cool and Store

  • Allow the ghee to cool completely at room temperature before sealing the jar.
  • Store the ghee in an airtight container. Ghee can be kept at room temperature for several weeks or refrigerated for longer shelf life.

Tips:

  • Low heat is key: Keeping the heat low prevents burning the milk solids and allows you to achieve that perfect, golden ghee.
  • Aroma and color: The nutty fragrance and amber color are indicators that the ghee is ready.
  • Use good quality butter: The quality of the butter directly affects the flavor of the ghee, so opt for high-quality unsalted butter for the best results.

Uses of Ghee:

  • Cooking: Ghee has a high smoke point, making it ideal for frying, sautéing, and roasting.
  • Spreads: Use it as a spread on bread or toast.
  • In desserts: Ghee is often used in Indian sweets like halwa, laddoos, and various other dishes.
  • Health: Ghee is known for its digestive benefits and is widely used in Ayurvedic medicine.

By following these steps, you’ll have delicious homemade ghee that is versatile in both cooking and as a health-boosting ingredient.

Also Read:

For breaking news and live news updates, like us on Facebook or follow us on Twitter and Instagram. Read more on Latest Dishes News on India.com.

By clicking “Accept All Cookies”, you agree to the storing of cookies on your device to enhance site navigation, analyze site usage, and assist in our marketing efforts Cookies Policy.